Jump to:
- Where to Find Account Settings
- Practice Settings
- Location Settings
- Practitioners
- Funnel Settings
- Integrations
Where to Find Account Settings
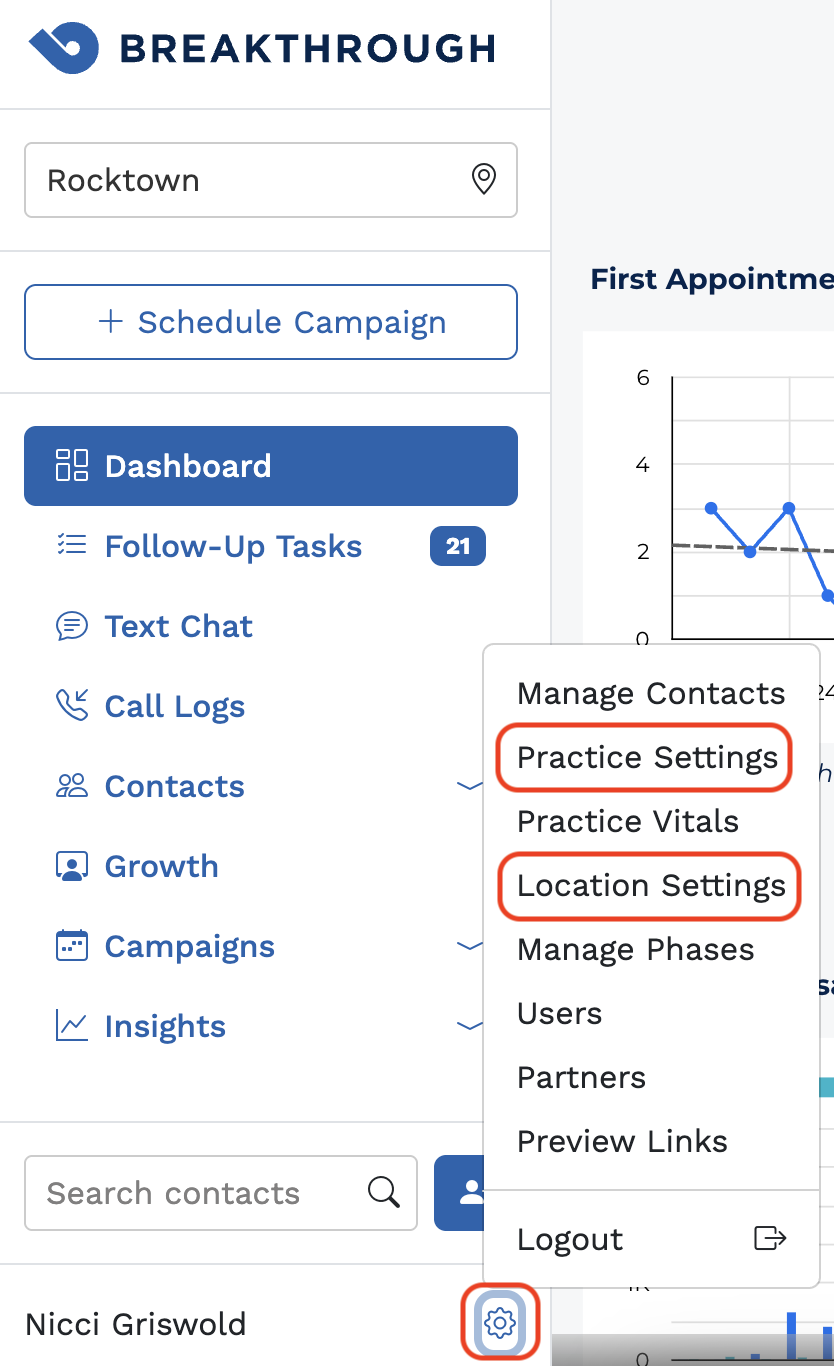
Click the Settings gear in the bottom left corner of the Breakthrough app to open the Main Settings menu:
Practice Settings
This is where you'll see your practice's information. You'll only see the information for the specific location you're viewing - if you have multiple practice locations, you'll need to change the location in the top lefthand side in the dropdown menu (under the Breakthrough logo at the top left.) You'll be able to view and edit the following:
- Practice Name
- Practice Website
- Your Front Desk Email
- Practice Logo
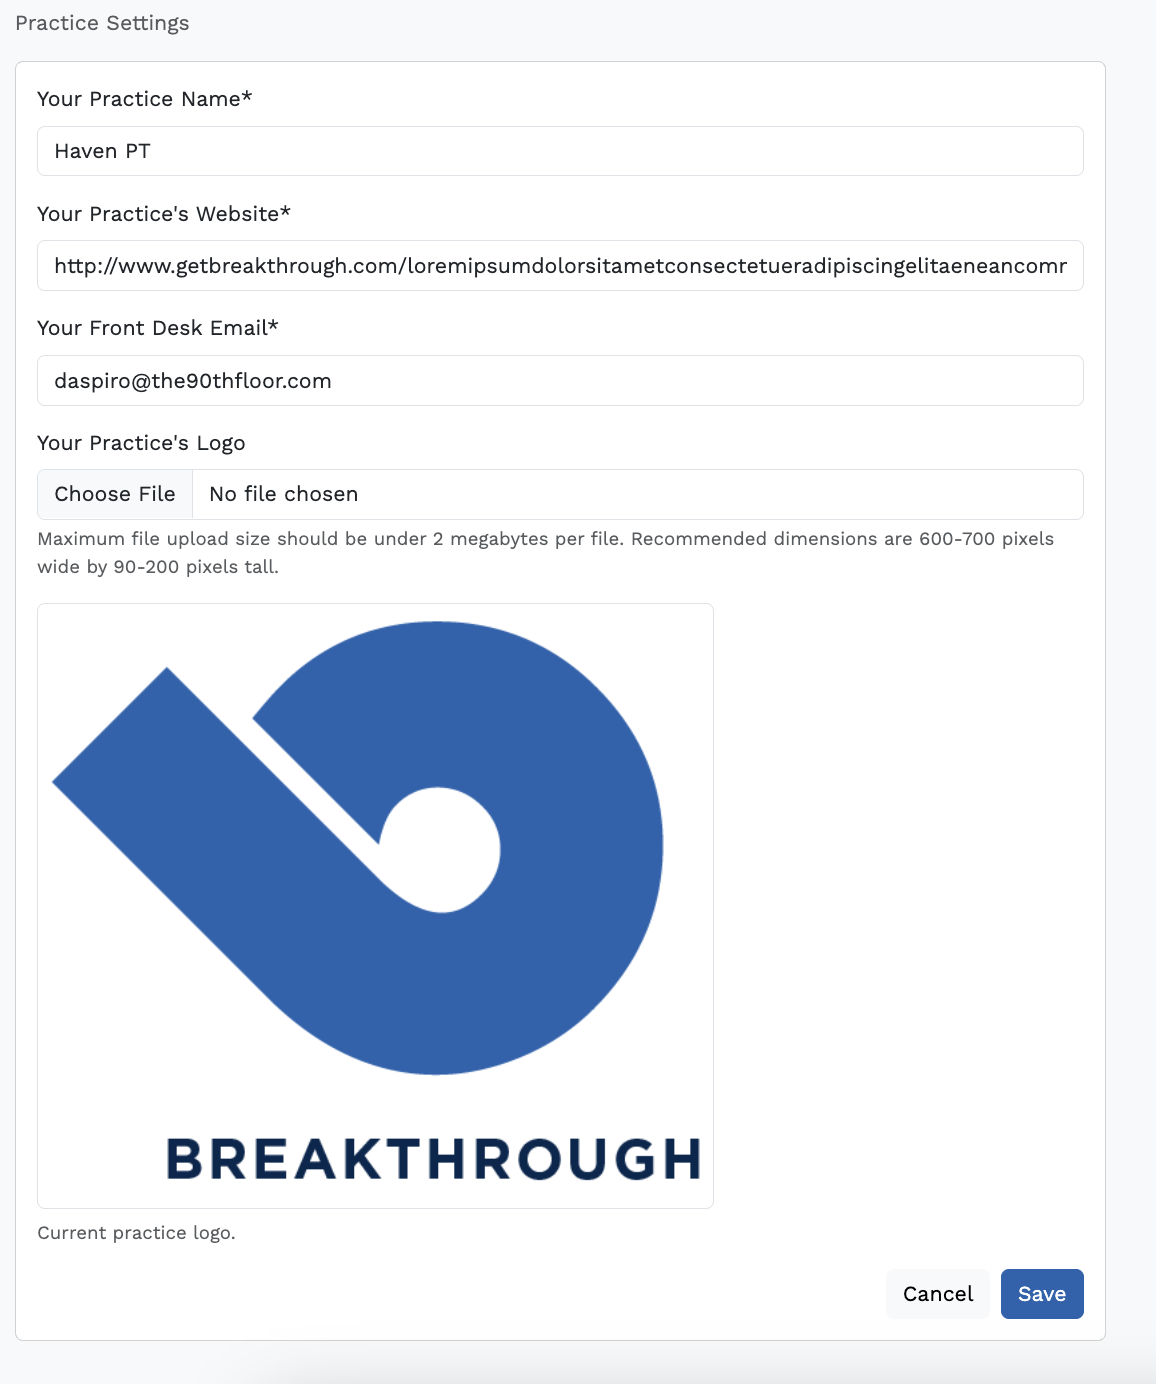
Note: Practice Name is a token field that is used throughout your account. This means that whatever is in this field is what will show anywhere you see the [Practice.Name] placeholder. It is used in all automated emails, texts, and landing pages. |
Location Settings
Here, you can manage location-specific details such as phone number, address, and office hours. You'll also go here to set up your funnels and landing pages.
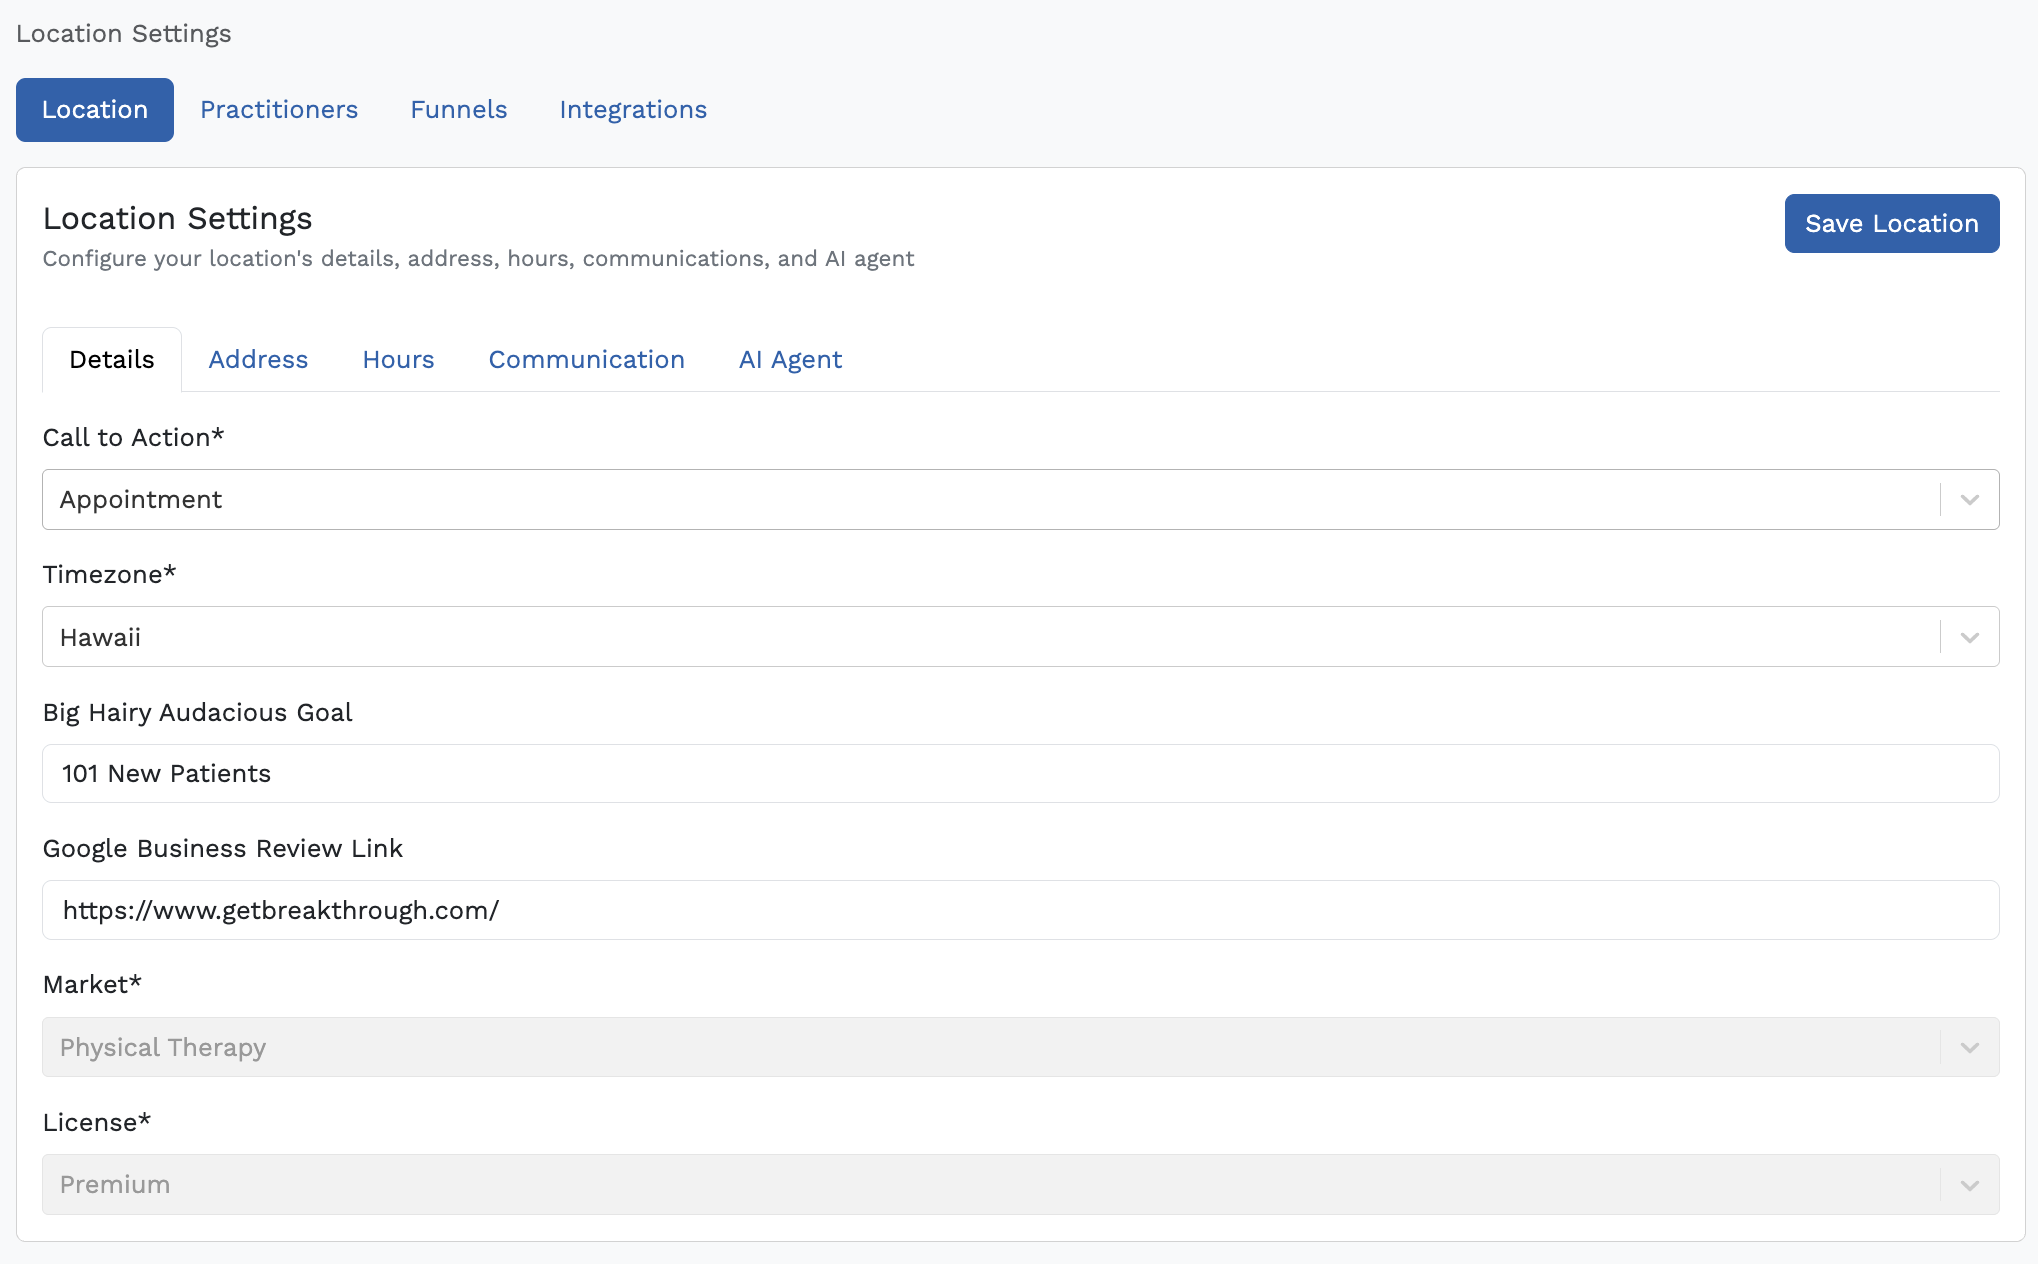
Within Location Settings, you'll see:
- Details - This is where your CTA (Call to Action), Timezone, BHAG (Big Hairy Audacious Goal), Google Business Review Link can be added. (The Market type and License field are locked - this gets added for you on the back end.)
- Address - This is where your practice's physical location information goes.
- Hours - This is where your practice's operating hours get added.
- Communication - This is where your Primary Contact Email goes, along with your Practice Number (and Breakthrough tracking number) Email From Name (this is your sign-off signature) From Email Address (this is where your location slug goes, this will be set up for you on the back end), Reply To Email Address (this is where the replies to your email campaigns will go), Front Desk Email and Owner Email (this is where you will get Boom and Review Needed notifications)
- AI Agent - This is where you can customize the AI Agent - the Profile field allows you to name the AI Agent and provide a background. (Note: The AI Agent will introduce itself with the name you give it, but the background does not have any impact on its 'personality' or how it interacts.) You can choose to allow the AI Agent to disclose that it is a virtual assistant.
- You can also add Insurance Info here, but be very specific with what you want the AI Agent to address and what insurance carriers your practice accepts. If you do not want the AI Agent answering any insurance questions, add language such as "Do not answer insurance questions, alert the clinic to step in" for example - that way, you'll receive a Review Needed notification to your email to step into the conversation when a contact asks about insurance.
- You can set the AI Agent's operating Hours. This is helpful when the office closes, the AI Agent can still interact with anyone who reaches out after hours!
Important: After all changes have been made, don't forget to click 'Save Location' at the top right!
Practitioners
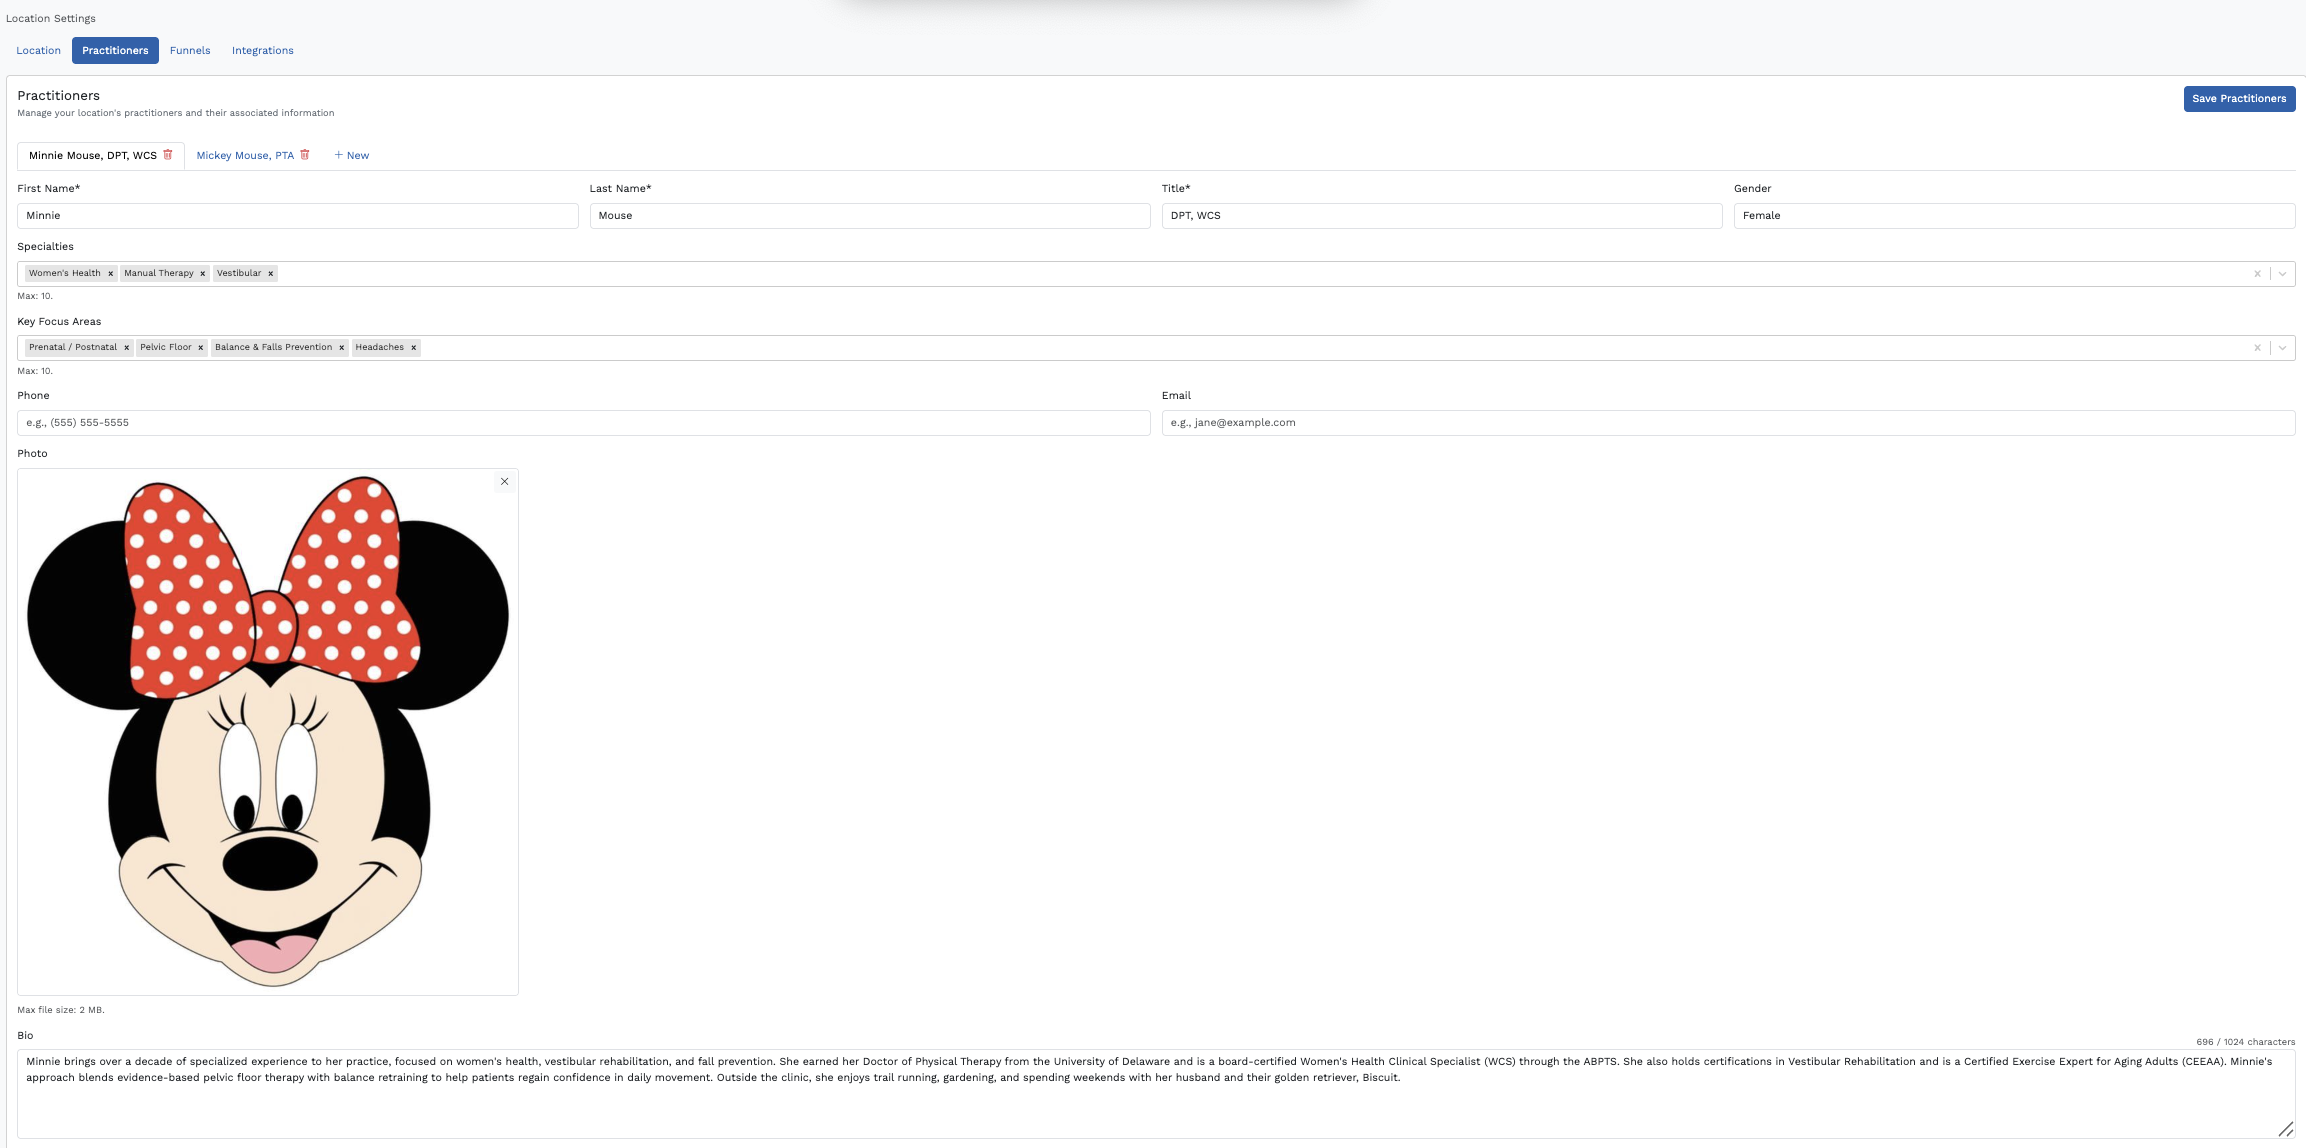
This is where you can add your staff practitioners and their information in this area. Don't forget to click 'Save Practitioners' at the top right when you've made your changes.
Funnel Settings
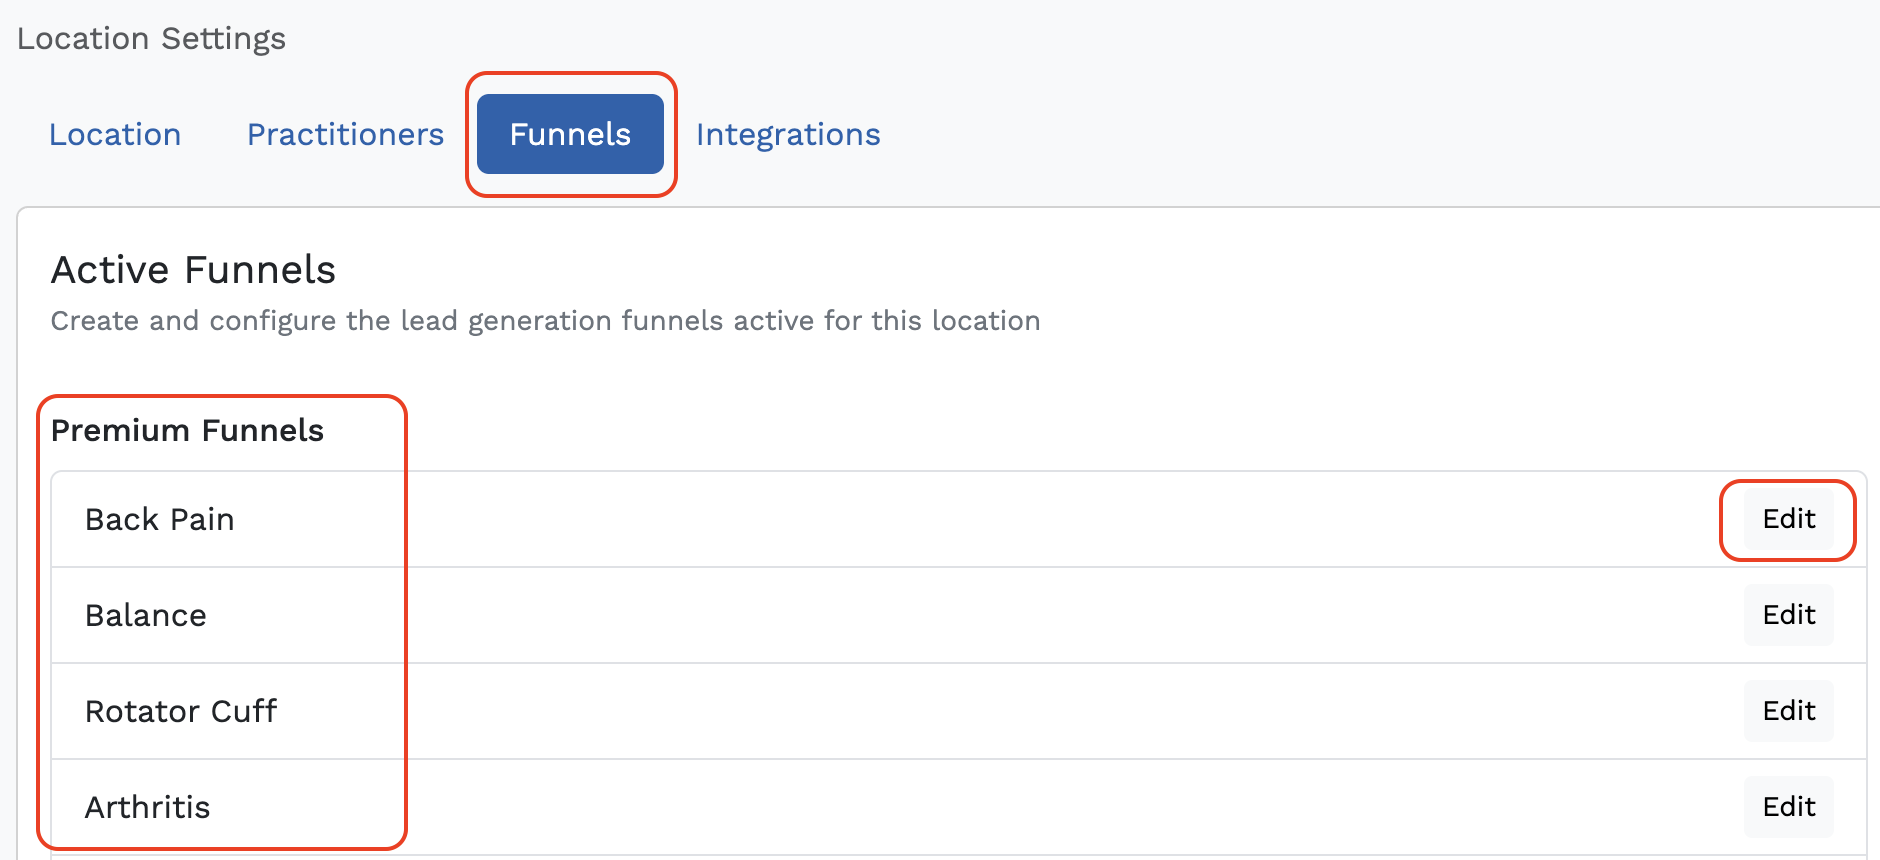
This is where you can review and edit the funnels for a specific location. Find funnel settings on the right hand side of the Location Settings page.
- Change or update the workshop presenter image or name
- Add or edit testimonials
- Add or edit landing page and indoctrination videos
Integrations
This is where you will see your EMR integrations connected. Please ask your CSM or reach out to support@getbreakthrough.com for more information on integrations, or visit the Prompt EMR integration page in the Help Center.
Was this article helpful?
That’s Great!
Thank you for your feedback
Sorry! We couldn't be helpful
Thank you for your feedback
Feedback sent
We appreciate your effort and will try to fix the article